Simple Image Editor
Click here to open and use in a new window →Simple Image Editor
【Instructions】
Supported import formats: any image your browser can open (JPG, PNG, WebP, GIF, etc.); select, drag and drop, or paste several at once
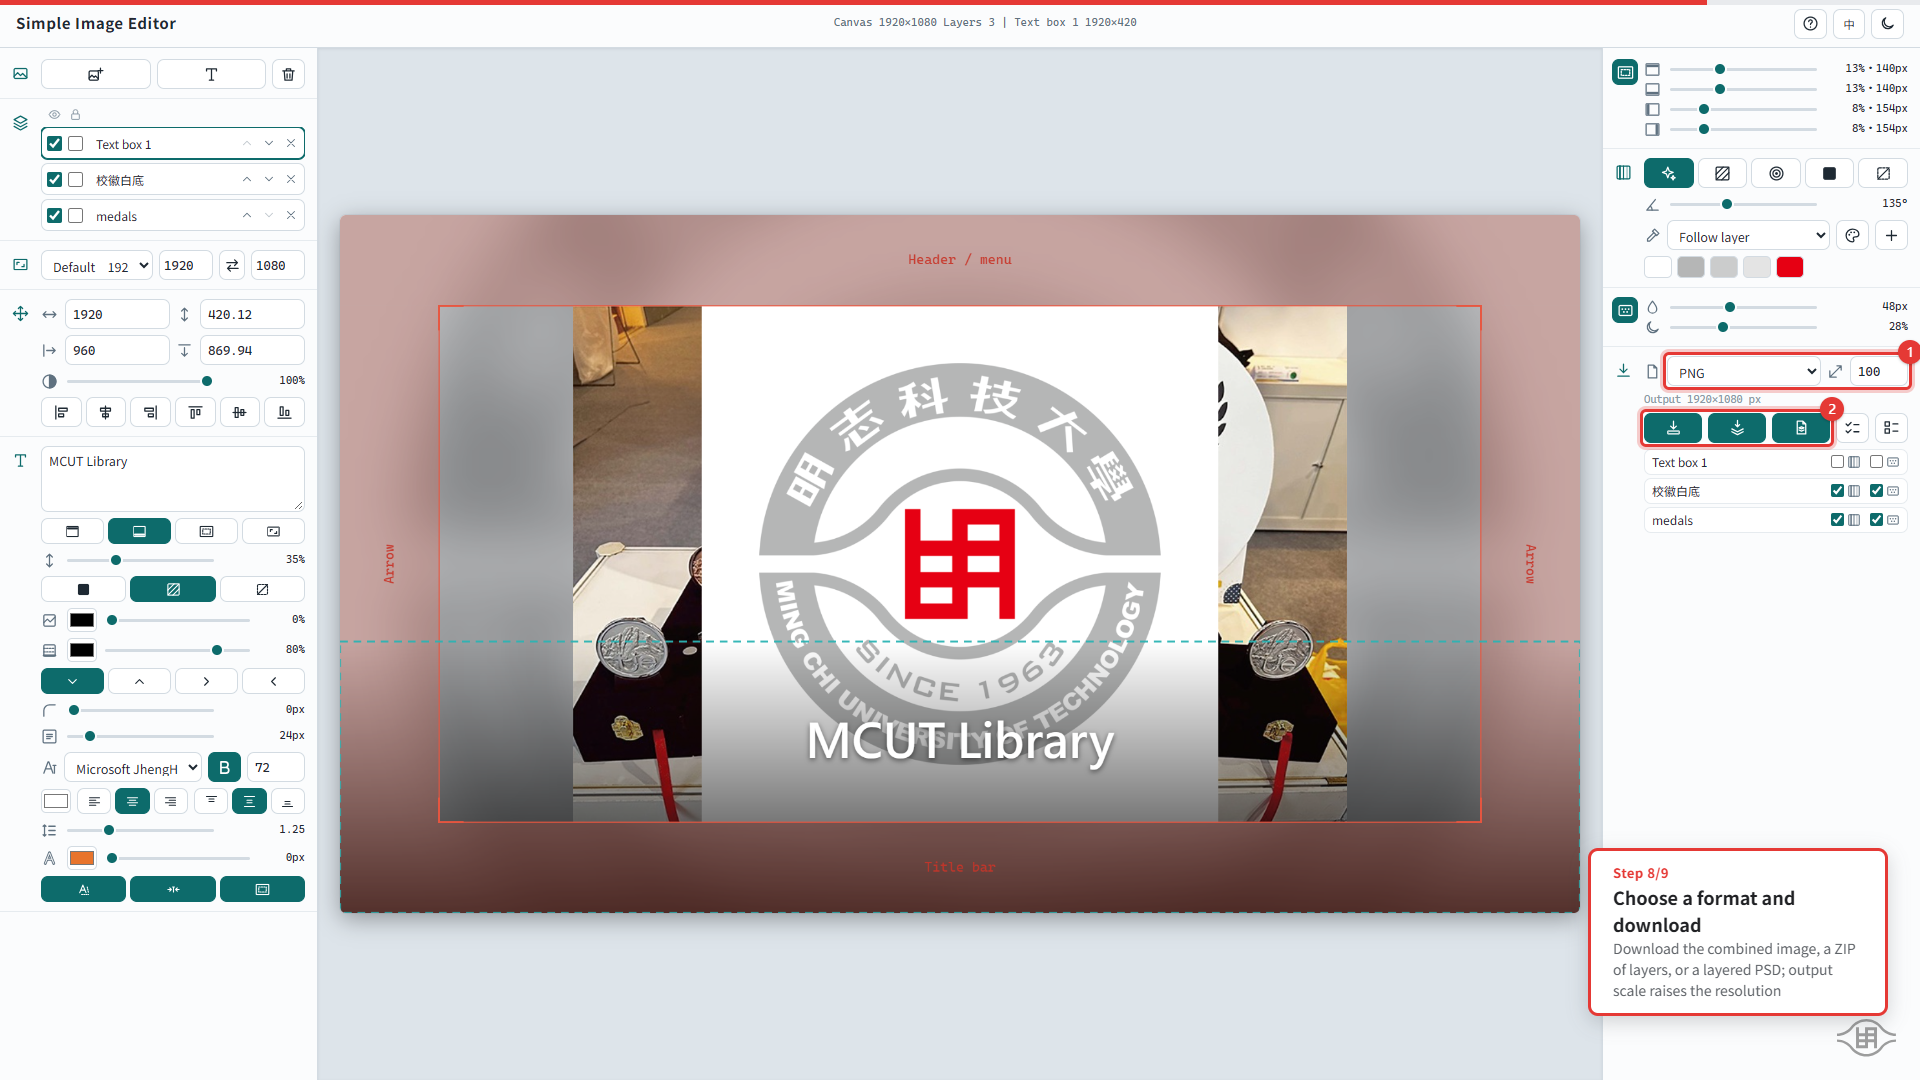
Supported export formats: PNG, WebP (lossless), WebP (lossy), JPEG; plus a layered PSD and a ZIP with each layer exported separately
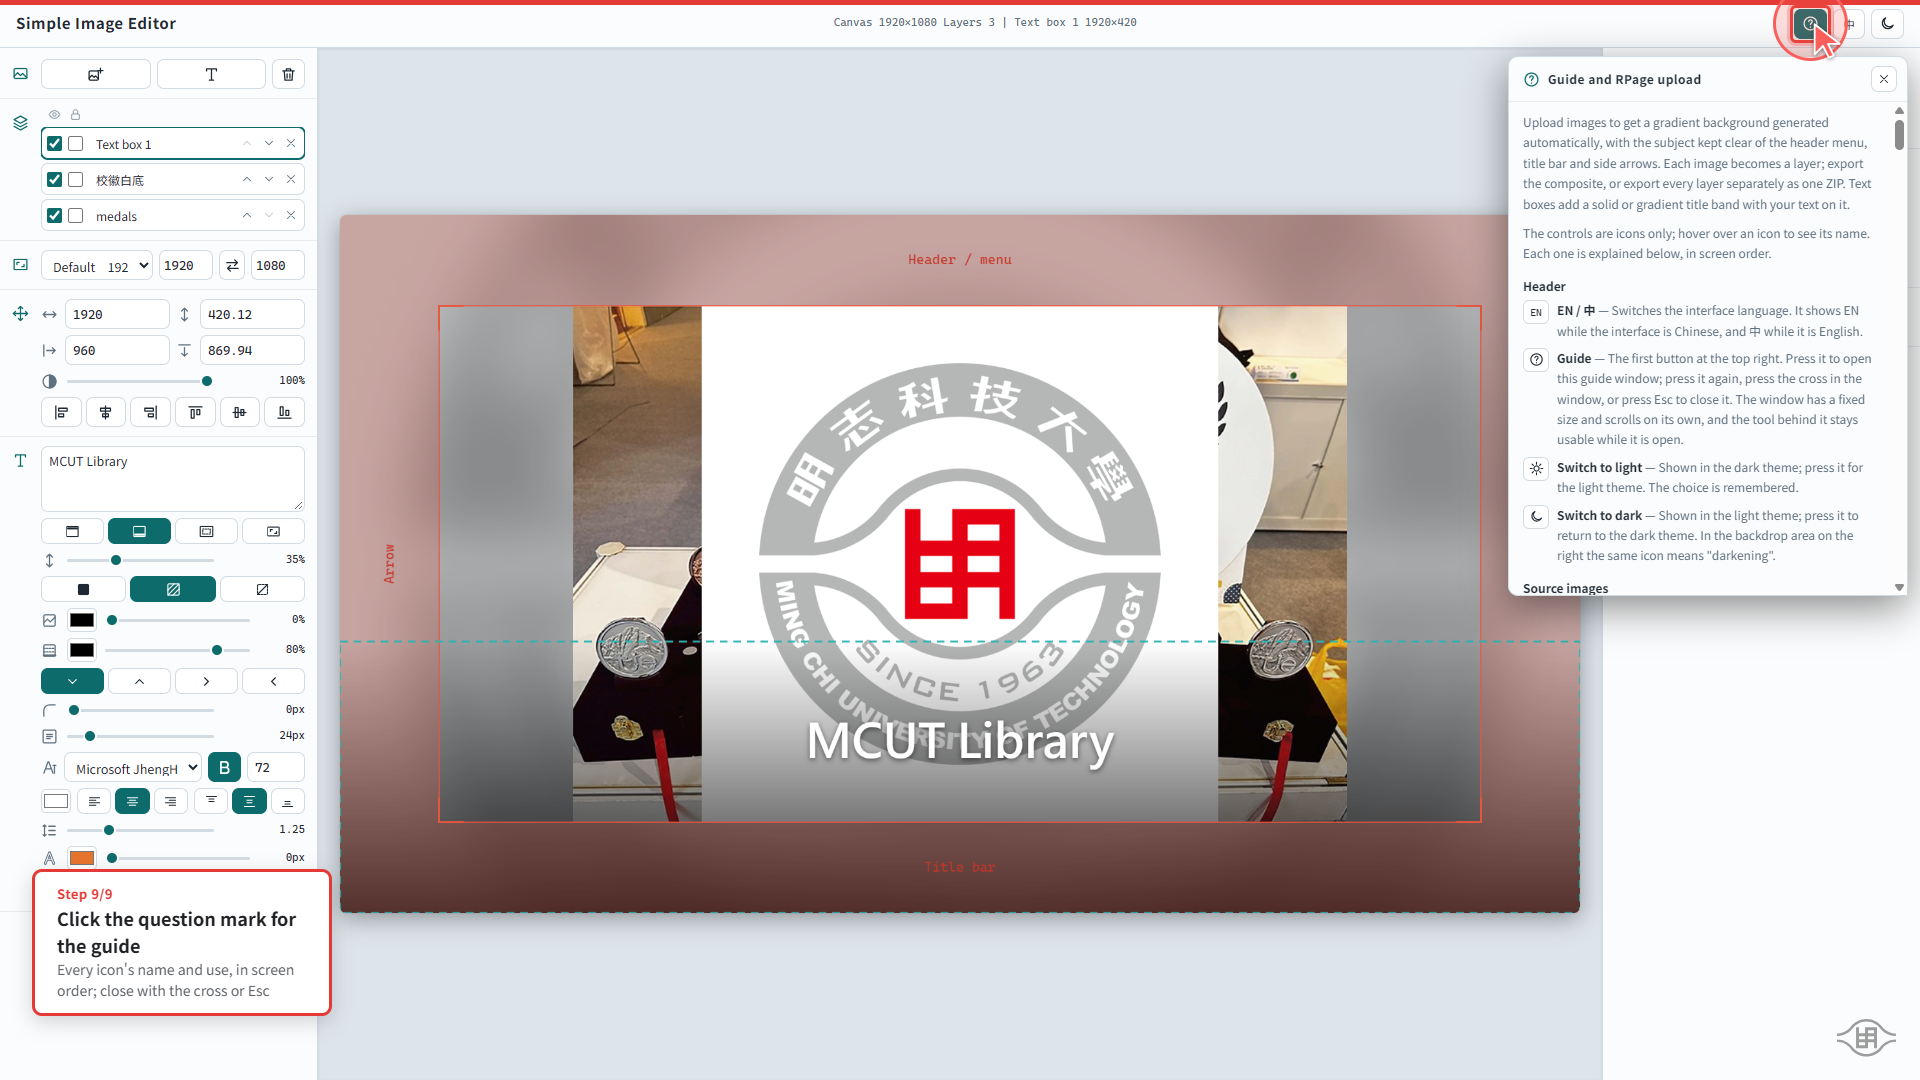
The interface is icon-based; hover over an icon to see its name. Use the buttons at the top right to switch between 中文/English and light/dark mode, and the question-mark button to open the full icon guide
【Steps】
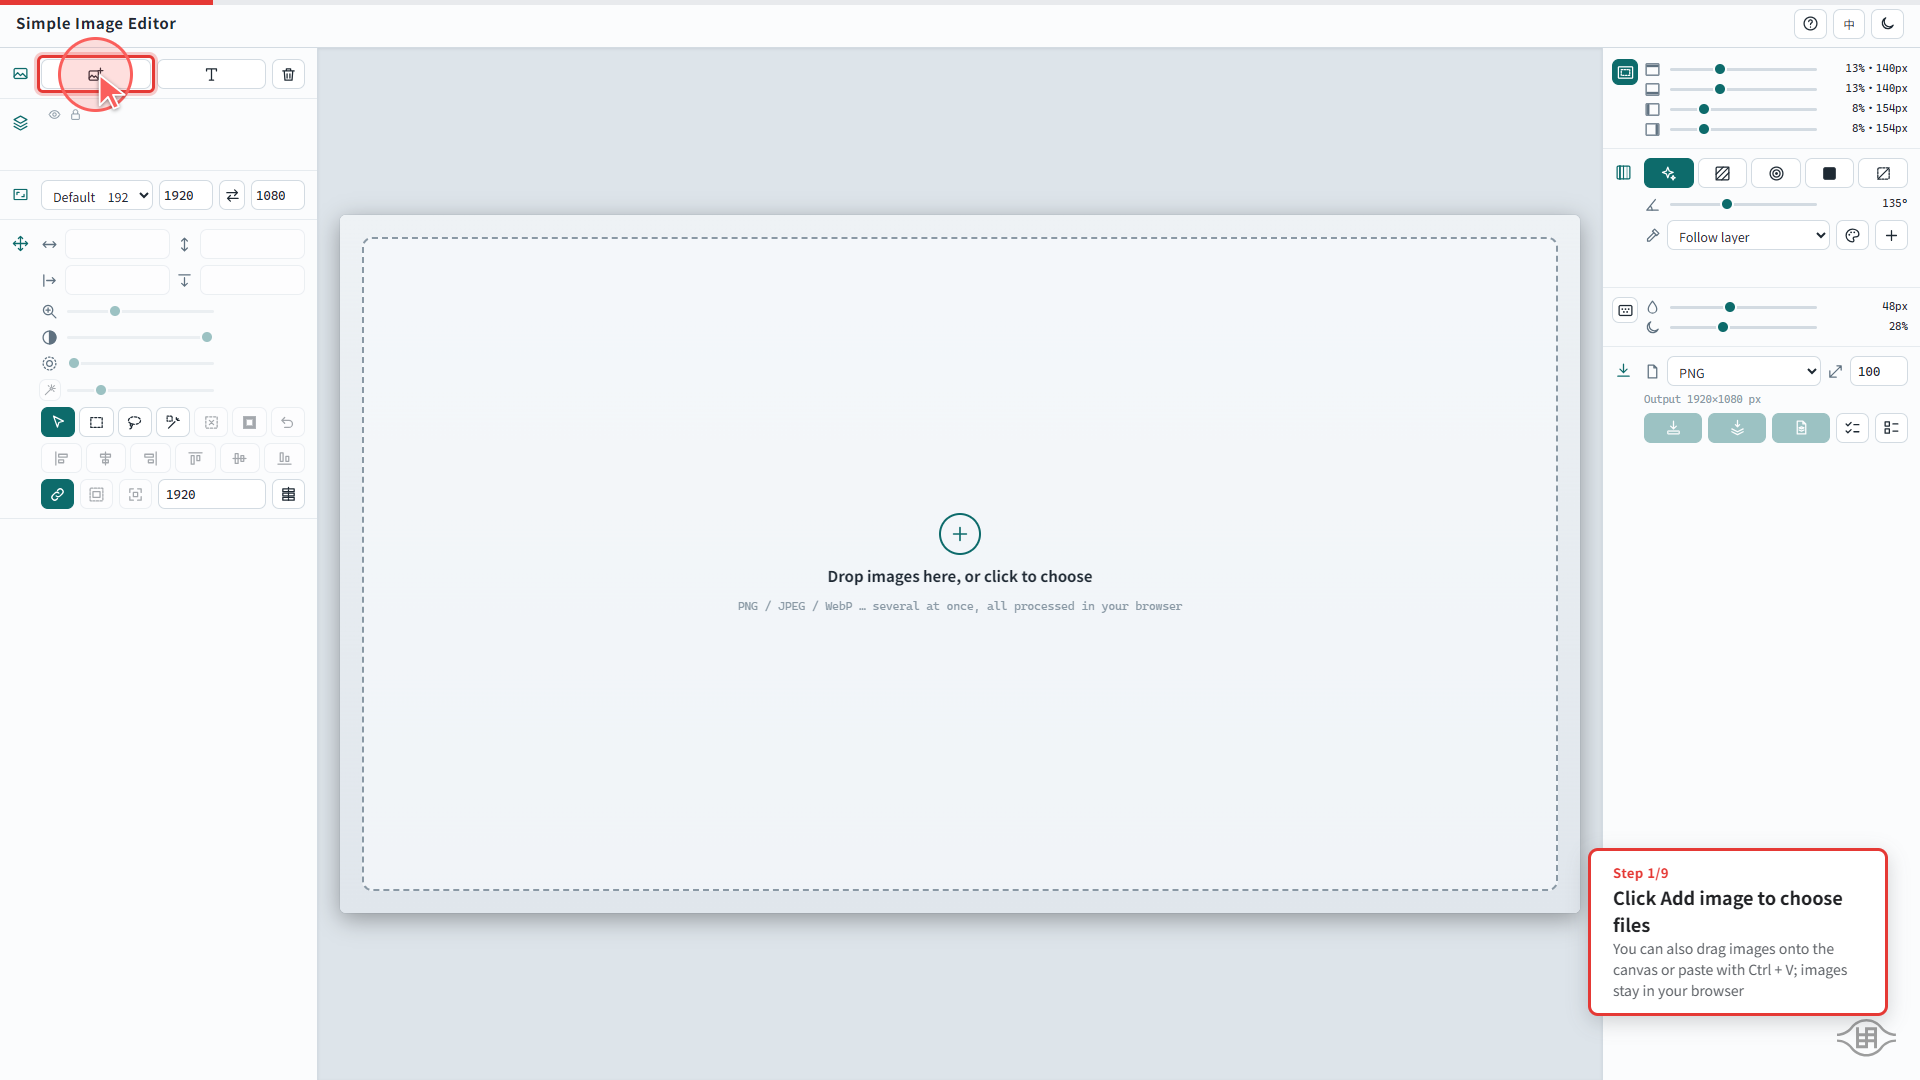
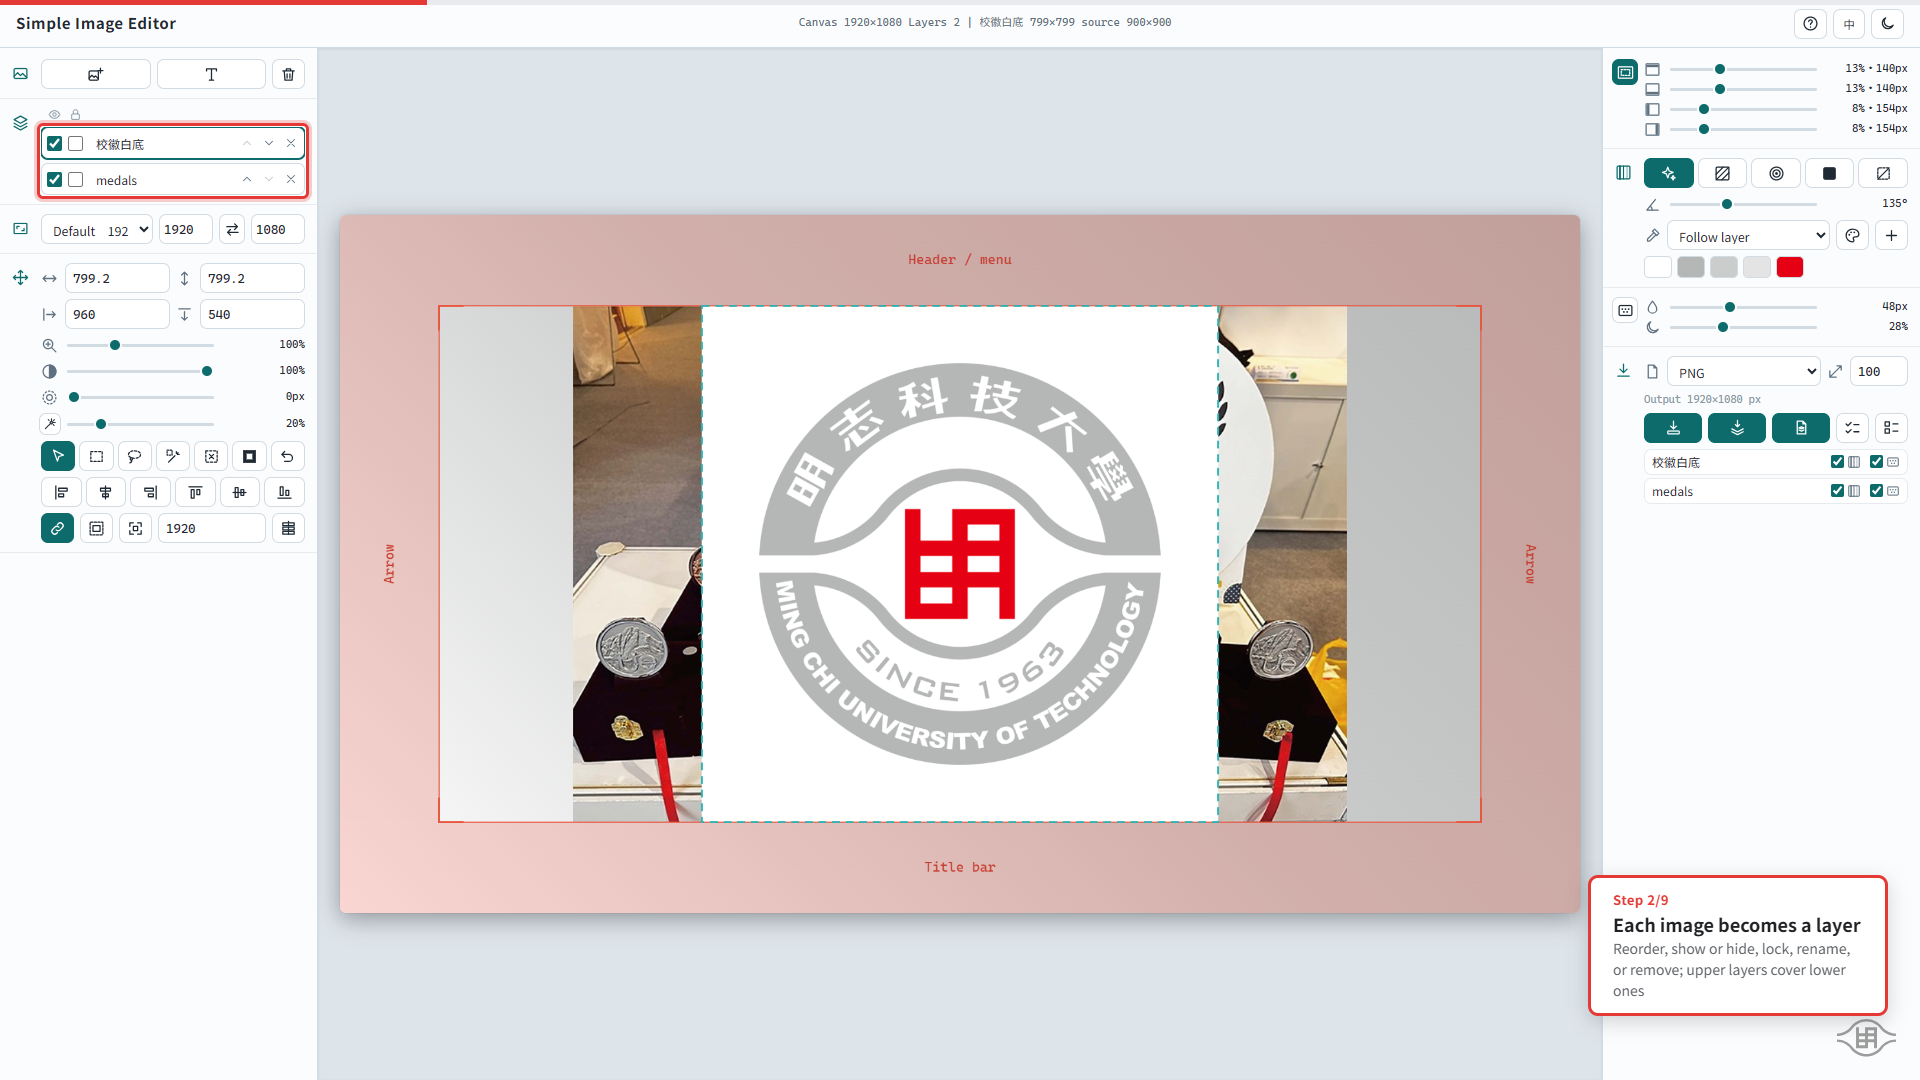
1. Add images: click the image source button in the left panel, drag images onto the canvas, or paste with Ctrl + V. Each image becomes a layer.
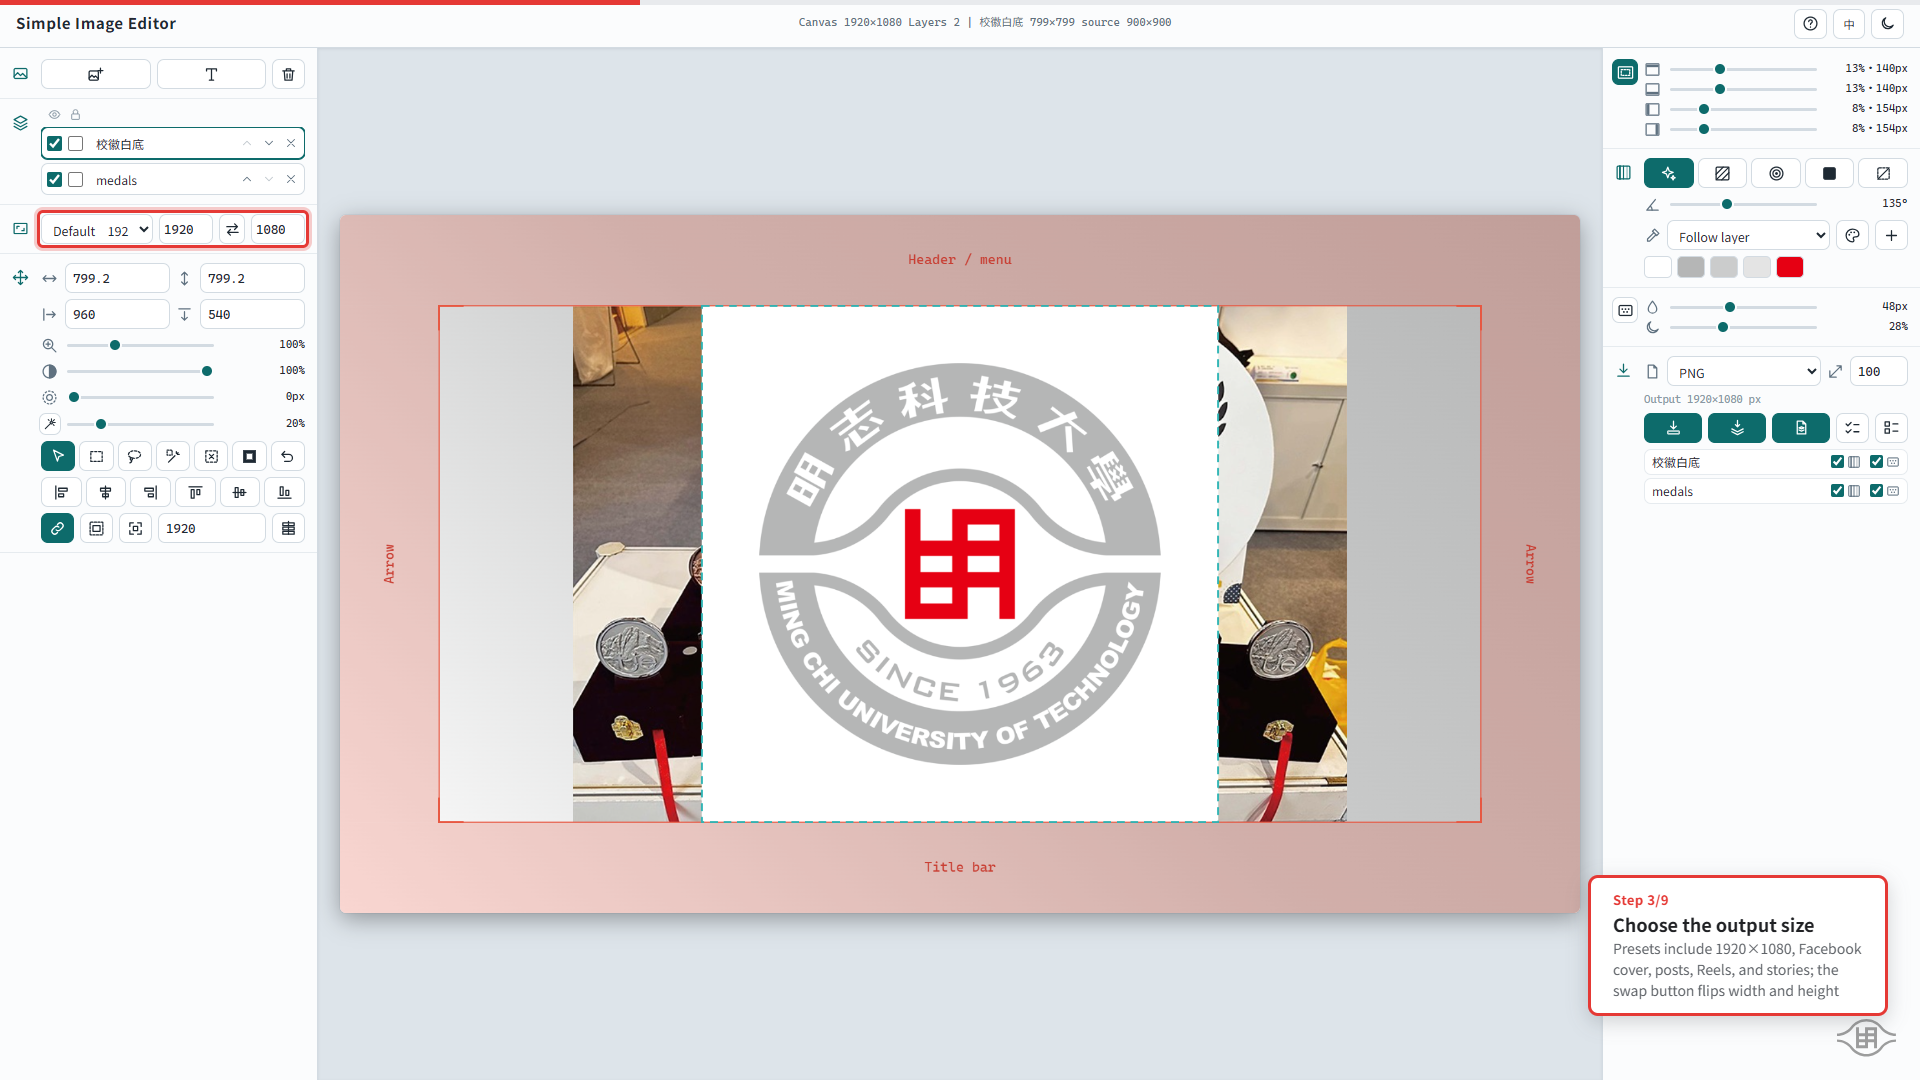
2. Choose the output size: pick a preset (default 1920×1080, Facebook cover, square or portrait post, Reel/Shorts, video thumbnail, story) or enter a custom width and height; the swap button exchanges them.
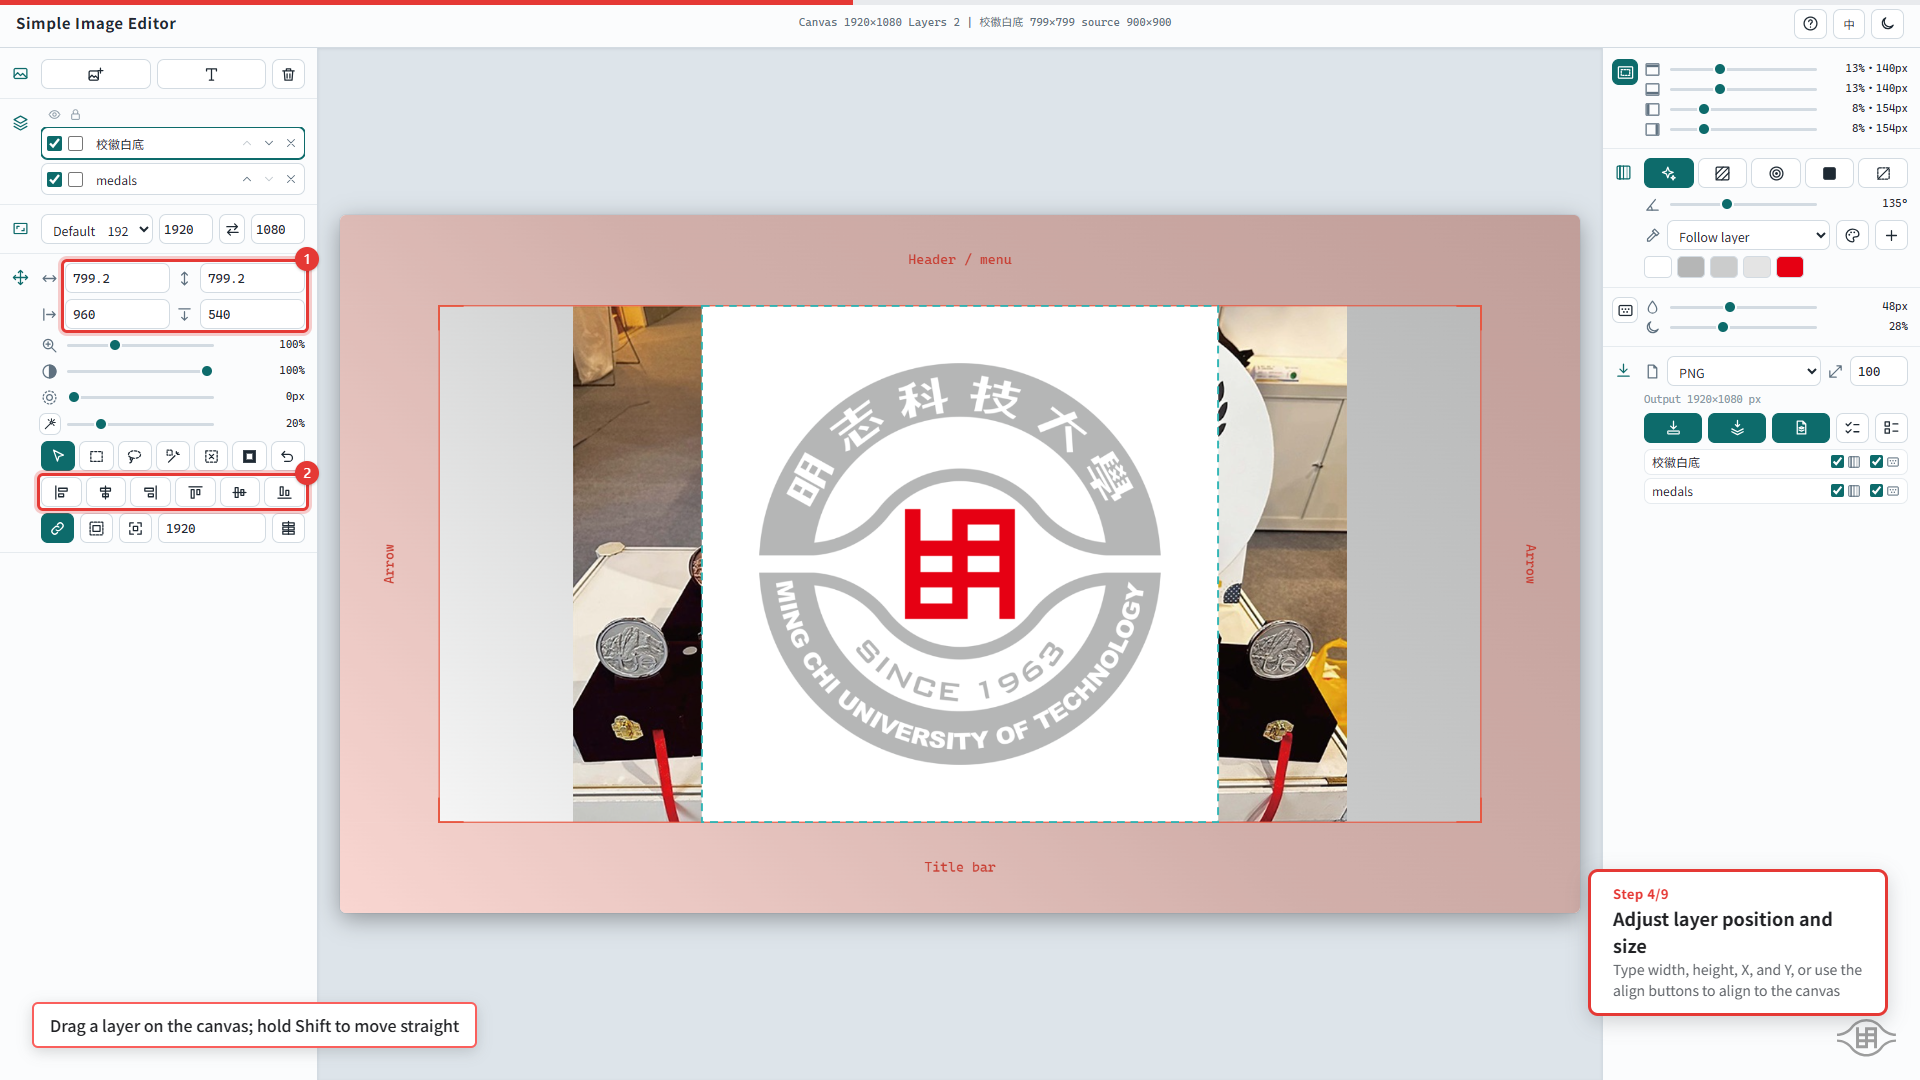
3. Adjust position and size: drag a layer on the canvas (hold Shift to move only horizontally or vertically), scroll to zoom, and use the arrow keys to nudge; you can also type width, height, X, and Y, and use the align buttons to align to the canvas.
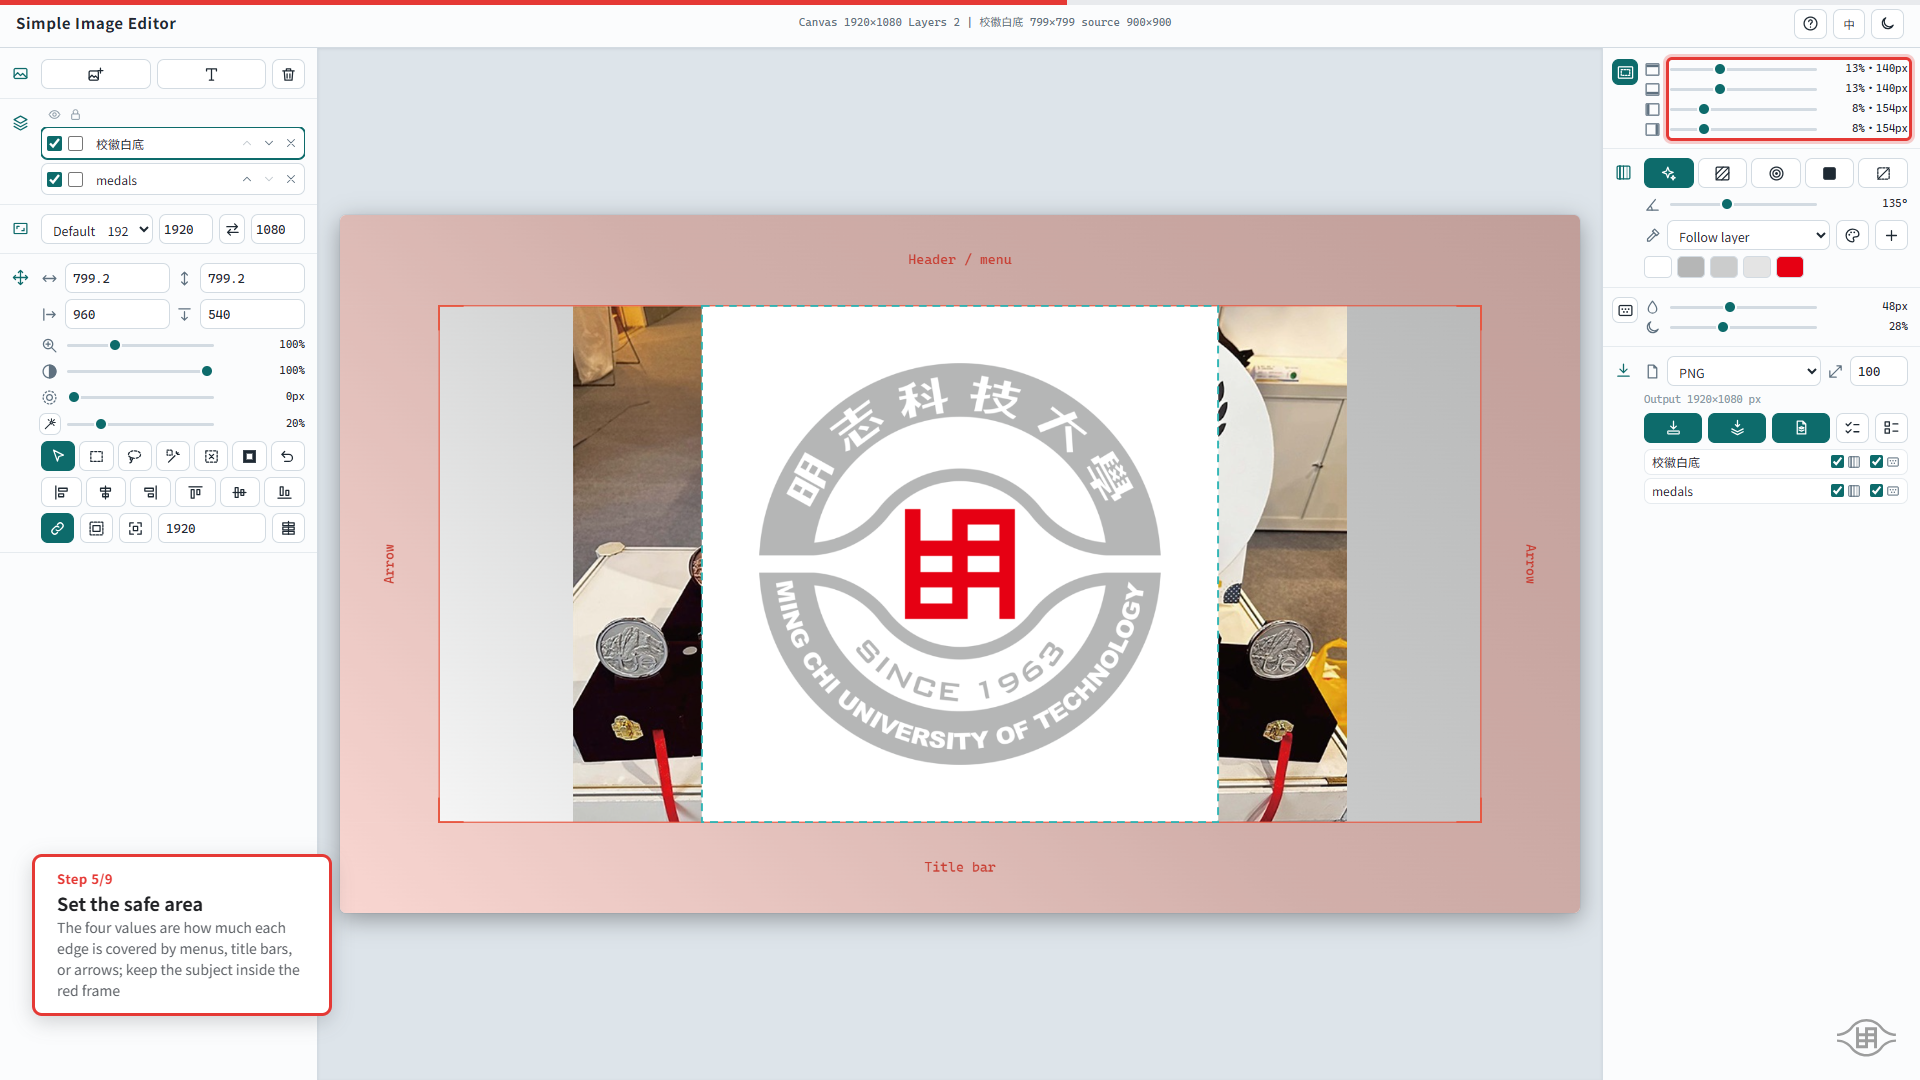
4. Keep clear of covered areas: under Safe Area in the right panel, set how much of each edge is covered by menus, title bars, or arrows. The safe area is marked on the canvas; keep the main subject inside it.
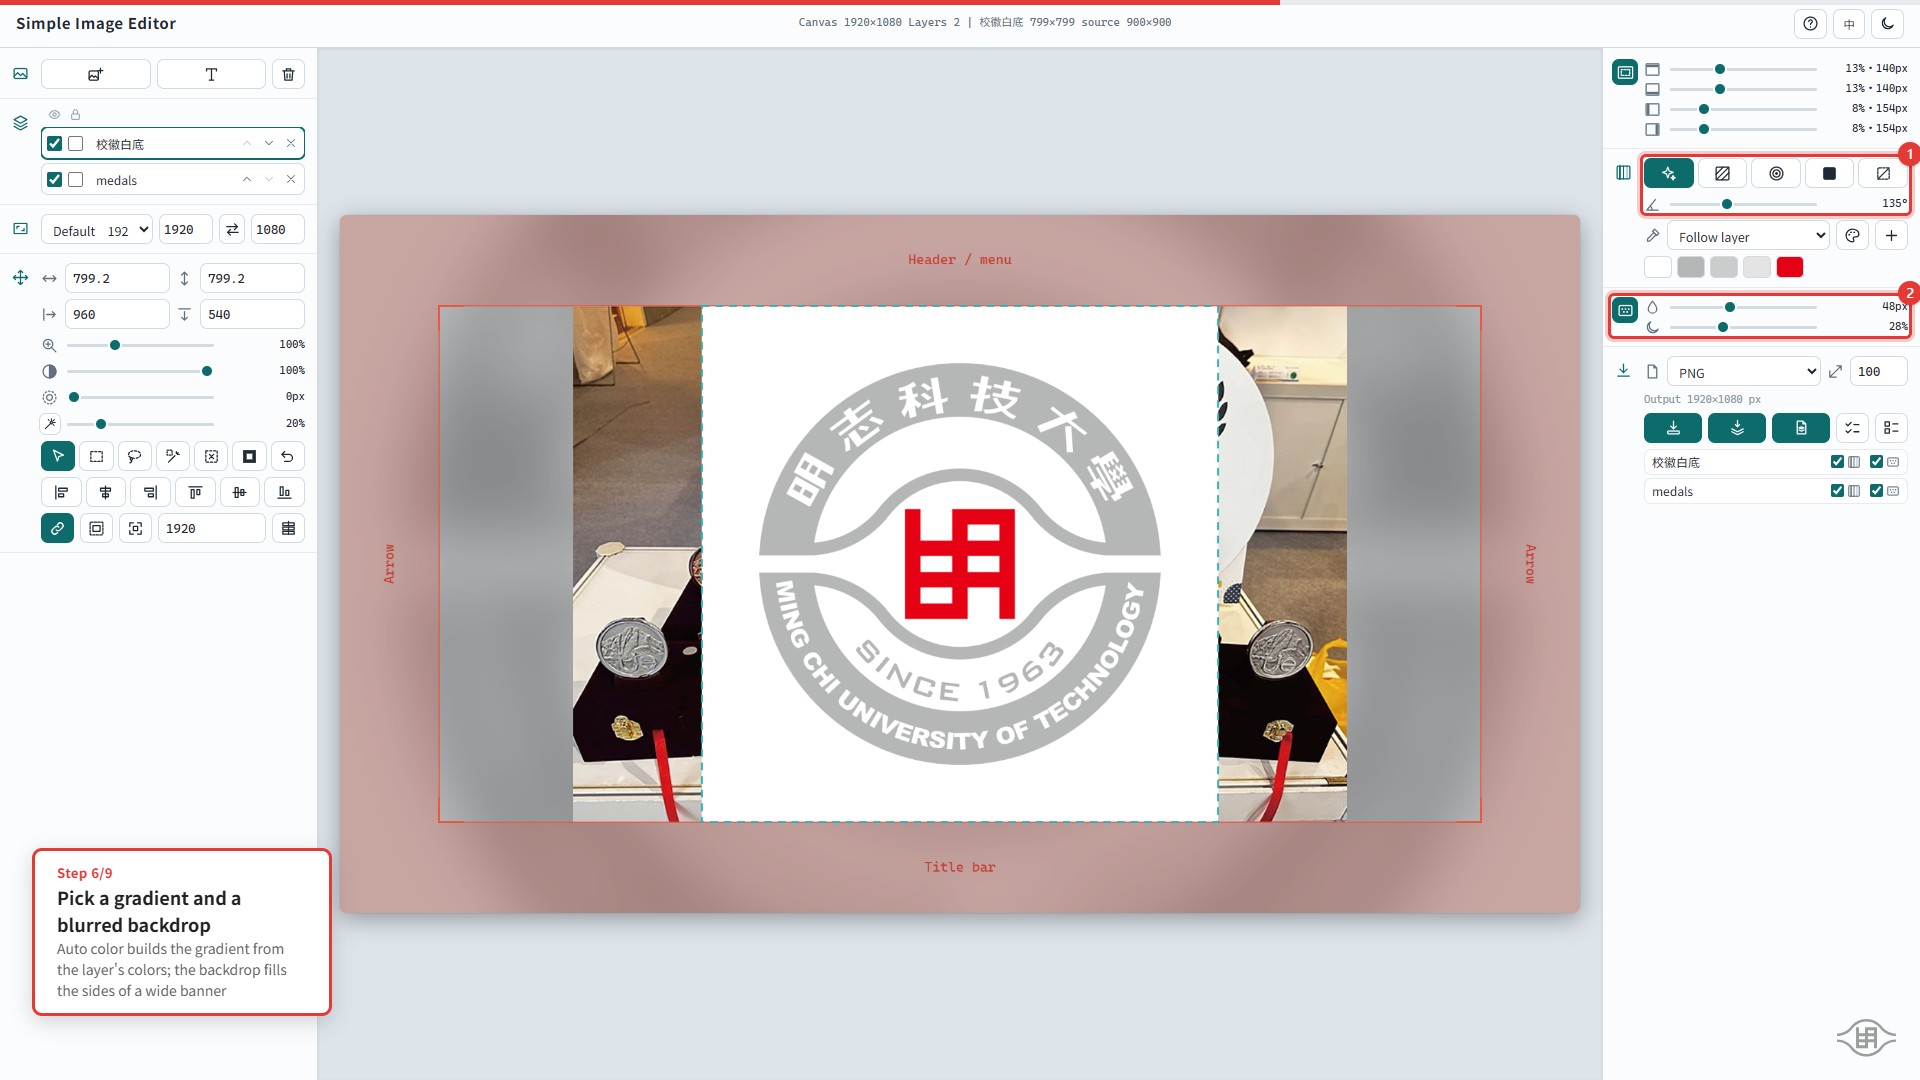
5. Background: choose a gradient (auto color, linear, radial, solid, or transparent) and optionally a blurred backdrop, so a portrait photo placed in a wide banner has no empty sides.
6. Export: at the bottom of the right panel, choose the format and output scale, then download the combined image, a ZIP of the layers, or a PSD.
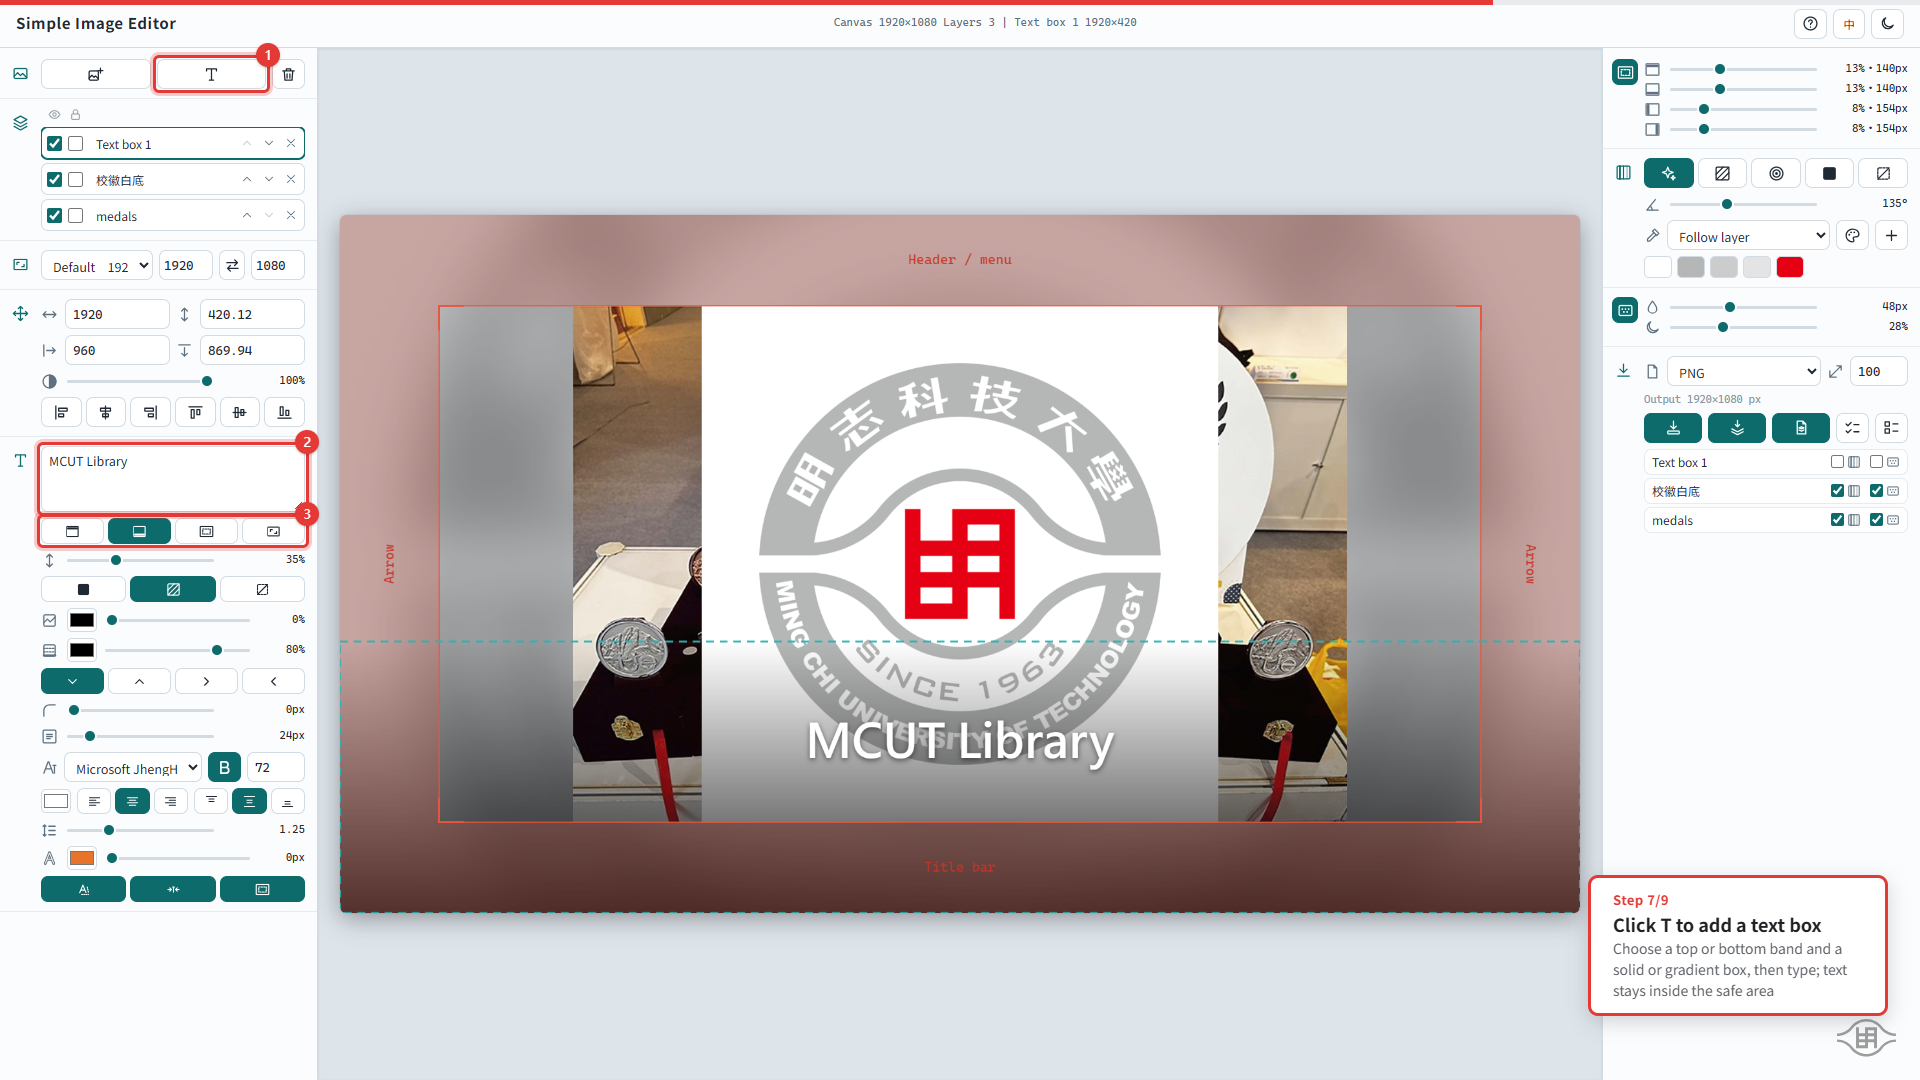
【Updated Function】Text boxes: click the "T" button in the image source row to add a title band at the top or a caption band at the bottom. Boxes can be solid, gradient, or borderless; text supports font, size, color, outline, and shadow, and is kept inside the safe area automatically
【Other Features】
Layers: reorder, show/hide, lock, rename, remove; per-layer opacity and edge feathering; set all unlocked layers to the same width and center them in one step
Background removal: works best on images with a white or solid background (such as logos or product photos), with adjustable tolerance; busy photo backgrounds will not be removed cleanly
Selection and delete: rectangle, lasso, and magic wand selection; delete the selection (Delete) or keep only the selection (Shift + Delete), and restore the whole layer at any time
Output scale: 10%–800%; for example, 200% produces a 3840×2160 image. Enlarging a low-resolution source will still look blurry
【Notes】
This tool is for web and social media use. It outputs RGB color only and is not intended for print.
Images and edits are not kept after you reload or close the page, so export your work first.
For any questions or suggestions regarding usage, please feel free to contact us by email or phone. Thank you.